Star Citizen Ship Equipment Guide (2026)
Understanding ship components, weapons, and equipment to optimize your vessel's performance.
TL;DR: Ship components in Star Citizen fall into a few key categories — power plant, cooler, quantum drive, shields, and weapons. Each has grade tiers (A/B/C) that trade raw performance against EM/IR signature. For combat, prioritize a Grade A power plant and military shields; for stealth, go Grade C across the board to minimize your signature. The power triangle (F key in-ship → MFD) lets you dynamically redirect power between weapons, shields, and engines mid-flight.
Last updated: May 10, 2026 — component stats change with each balance patch.
Core Component Types
Power Plants
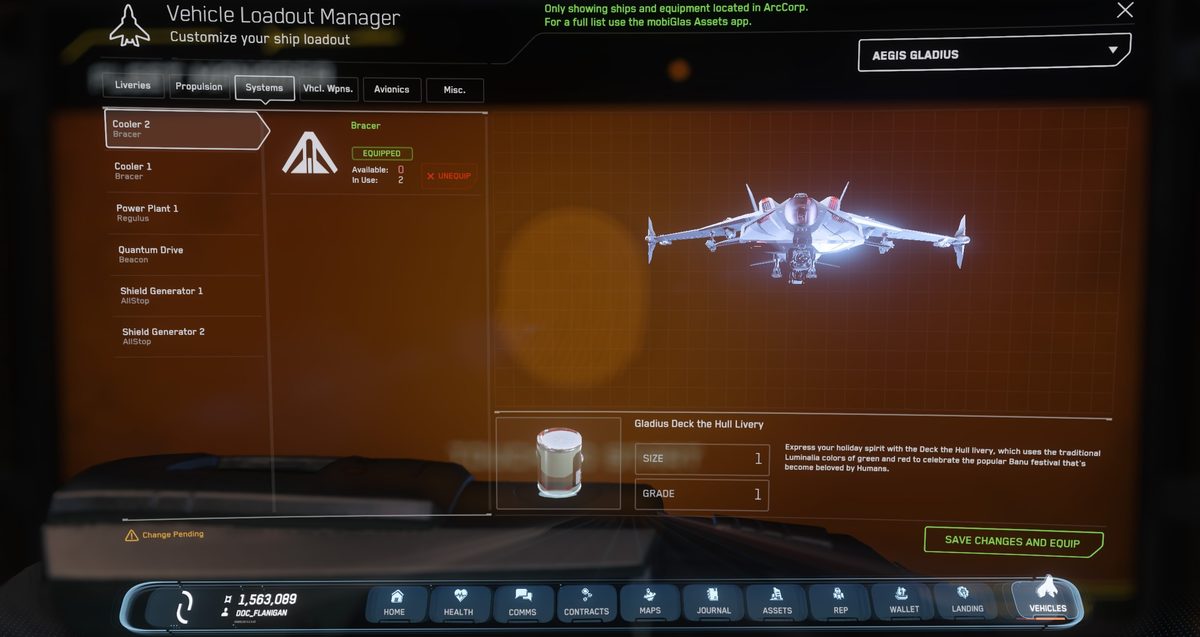
Power plants generate the electricity that runs everything else on your ship. Higher-grade plants produce more power but emit a stronger EM signature (making you easier to detect).
- Grade A: Highest power output — best for combat builds that run multiple weapons and shields simultaneously.
- Grade B: Balanced power and EM — the default on most stock ships.
- Grade C: Lowest power output and lowest EM — used in stealth builds where staying off radar matters more than peak performance.
Coolers
Coolers dissipate heat generated by all your components. Running at full power generates heat; if it overflows, components start throttling or shutting down.
- Industrial: High cooling capacity, higher power draw.
- Stealth: Lower cooling, but minimal IR signature — pairs well with Grade C power plants.
- Performance: Balanced cooling with moderate power draw — good default for most builds.
Quantum Drives
Quantum drives power faster-than-light travel between locations. The key stats are spool time (how long before you can jump) and fuel efficiency (how far per tank).
- Military: Fastest spool time — best for quick escapes or combat-heavy routes.
- Civilian: Balanced spool and fuel efficiency — good general purpose.
- Industrial: Slowest spool but highest fuel efficiency — best for long-haul cargo or exploration.
Weapon Systems
Ballistic Weapons
- Limited ammunition — you will run dry in extended fights.
- Partially bypass shields, dealing some direct hull damage even through an active shield.
- Higher physical damage per hit than equivalent energy weapons.
Energy Weapons
- Unlimited ammo — sustained by power plant output.
- Must deplete shields before dealing hull damage.
- High shield damage-per-second — excellent for stripping enemy shields quickly.
- Generates heat; sustained fire will stress your coolers.
Shield Configuration
Most ships have shields with multiple faces (front, back, left, right, top, bottom). You can reinforce specific faces via the shield MFD to direct more HP toward incoming fire. Some smaller ships use a single-face shield that distributes evenly.
- Military shields: Higher total HP, slower recharge — good for absorbing sustained fire.
- Civilian shields: Balanced HP and recharge — solid default for most roles.
- Stealth shields: Lower HP but faster recharge and minimal EM output — pairs with stealth builds.
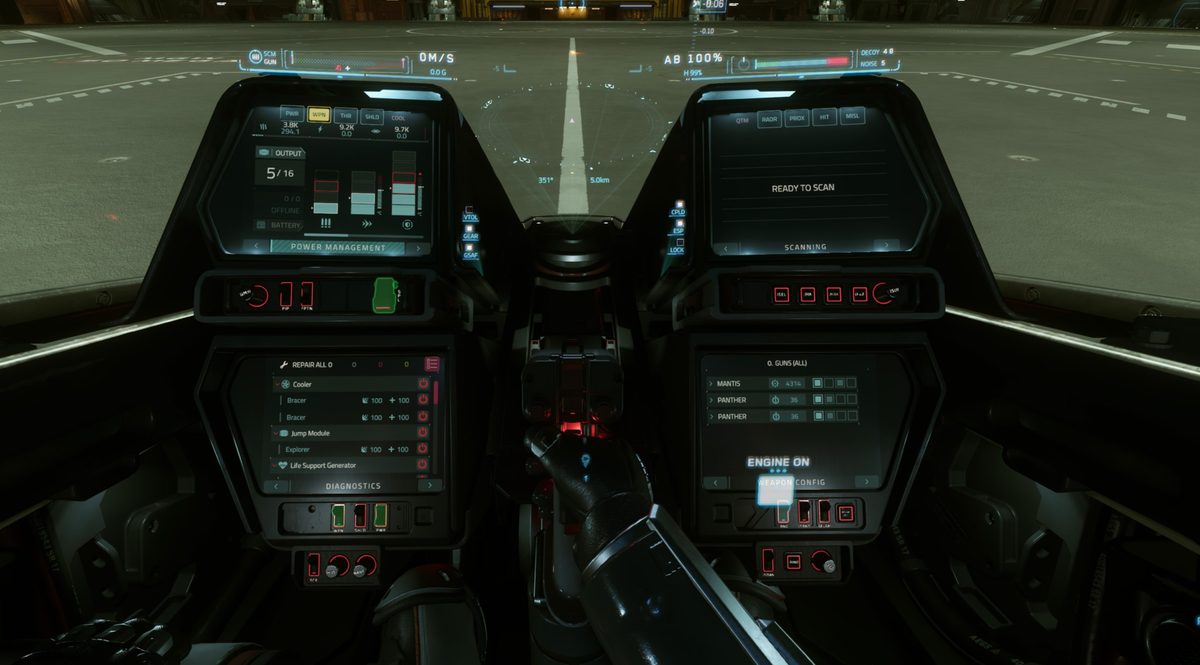
The Power Triangle
The power triangle lets you dynamically redistribute energy between weapons, shields, and engines from the MFD (or using default keybinds). In a dogfight, push power to weapons to increase fire rate; when fleeing, shift to engines for maximum speed.
Frequently Asked Questions
New to Star Citizen? DayOneCitizen.com has a complete first-30-days guide written for brand new players.